Cách xây dựng các loại hồ bơi âm dưới mặt đất | How do they build an Inground Swimming Pool?
-
 Chia sẻ với Facebook
-
 Chia sẻ với Twitter
-
 Gửi qua Gmail
-
 Chia sẻ với Pinterest
-
 Copy link
Trong bài viết này, chúng tôi sẽ hướng dẫn cho bạn 1 số hình ảnh thi công lắp đặt thực tế của các loại hồ bơi âm dưới mặt đất. Bao gồm các loại hồ bơi tường thép, polymer, hồ lót vinyl và gunite (thạch cao / xi măng). Chúng tôi sẽ cung cấp cho bạn một mô tả ngắn gọn về mỗi bức ảnh để giải thích từng giai đoạn xây dựng lắp đặt 1 hồ bơi. Điều này sẽ cho bạn một ý tưởng tốt hơn về quá trình xây dựng mới một hồ bơi. Xin lưu ý rằng quá trình thi công cho từng loại hồ bơi (vinyl, thép, nhựa, gunite, thạch cao, xi măng) là khác nhau đáng kể...
Inground Swimming Pool Construction Photos
For Steel and Polymer Walled Pools with Vinyl Liners
Photos Provided By Paramount Pools, Patriot Pools, Plum Perfect Pool & Spa
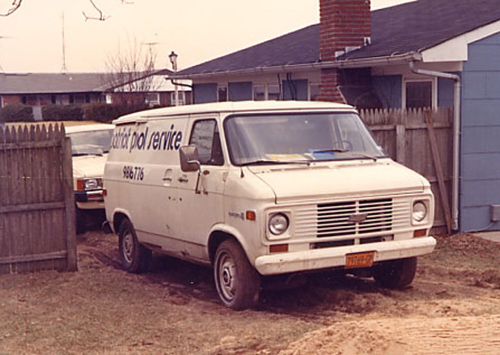
The Pool Guys show up to work on your new swimming pool!
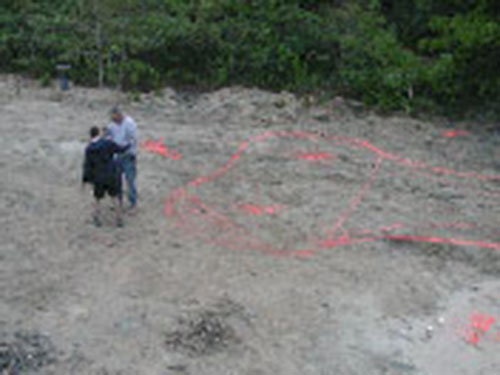
The area of your Backyard where you want the pool located is marked out.
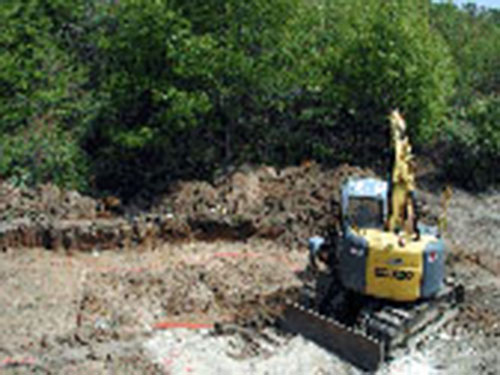
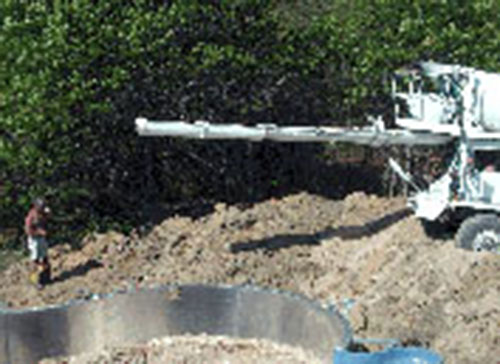
The excavator digs a big hole in your yard, pretty much making a big mess of your previously nice looking lawn.
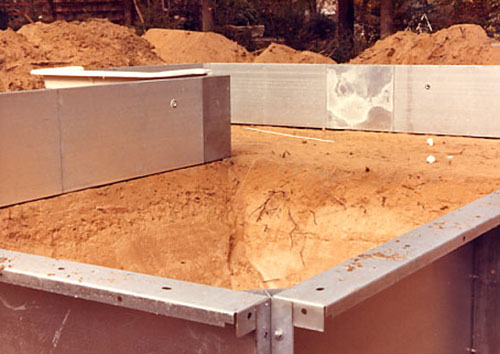
The Pool Guys start to put up the wall panels - in these cases, they are steel walls.
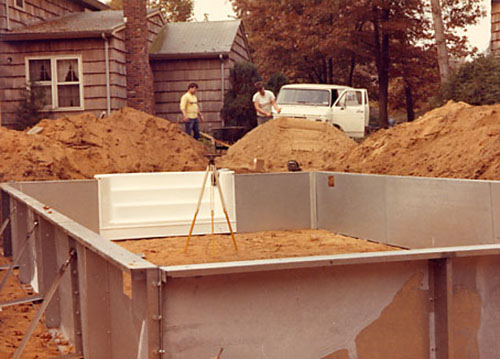
Here you can see the pool kit being put together. There is a transit in the middle of the shallow end to make sure the walls are all the same height. You can see that a step has been added.
This shows the Pool Guy putting together a polymer (plastic) pool kit. The construction process is the same as a steel kit - except the walls and braces are made of a different material.
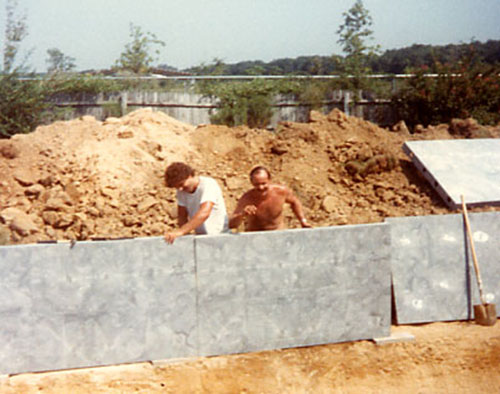
Now they are setting the pool wall panels on blocks so they can make sure they are all the same height and are at the right grade level.
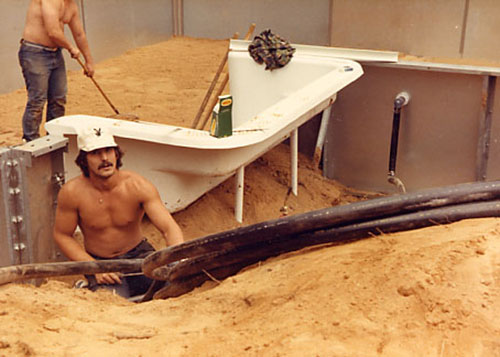
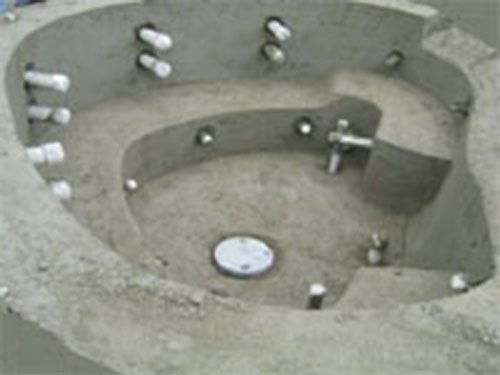
Now the options are added to the pool, in this case a walk-in step unit. Notice that some of the plumbing pipes are starting to be run around the pool as well.
Here you can see a lonely skimmer that has been installed toward the end of the pool wall. You can also see that the Aluminum Receptor Coping that the homeowner picked out has been started (the white metal piece screwed to the top of the wall).
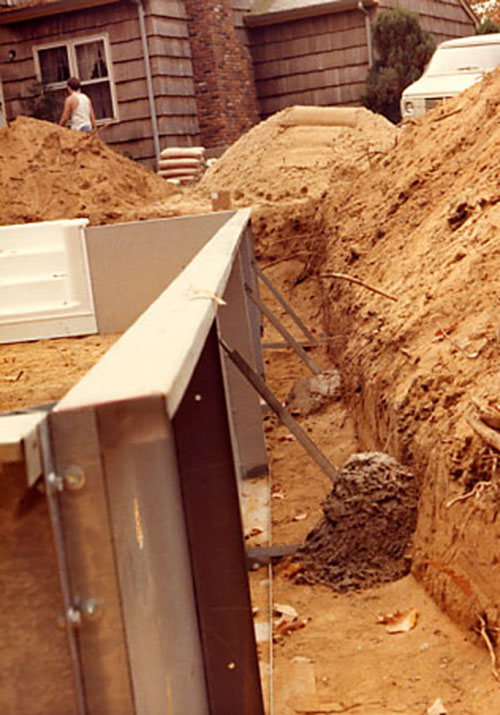
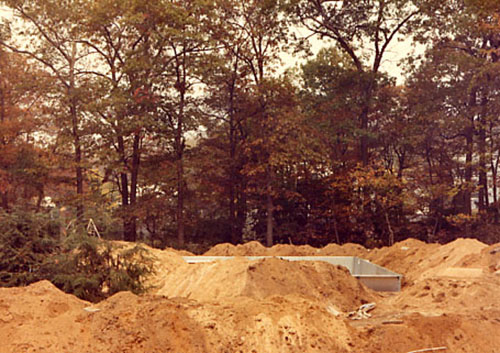
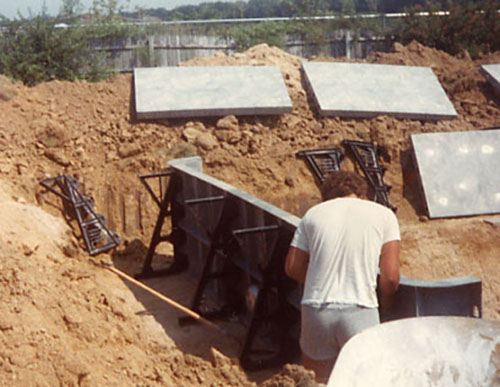
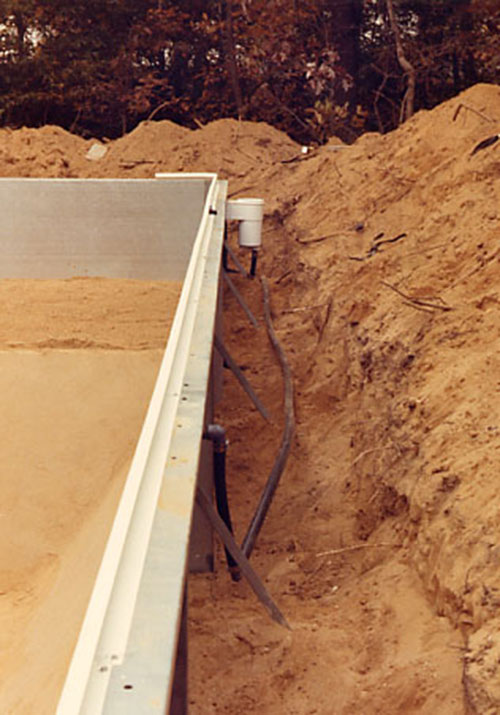
The braces must be attached to each pool panel. They are the metal pieces you see here at an angle to the pool wall. Cement must be poured on each brace after the wall has been set to the right height and is plumb. The cement helps to keep the wall in place when it is being backfilled. It also adds strength for when the water is put into the pool. Later on, a solid concrete collar is poured around the bottom of all of the panels to ensure stability.
Here you can see a cement truck getting ready to pour the concrete collar that will stabilize the entire pool wall installation
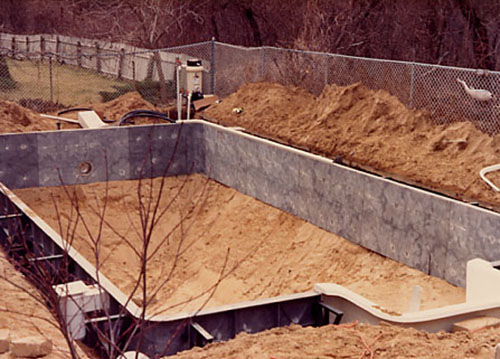
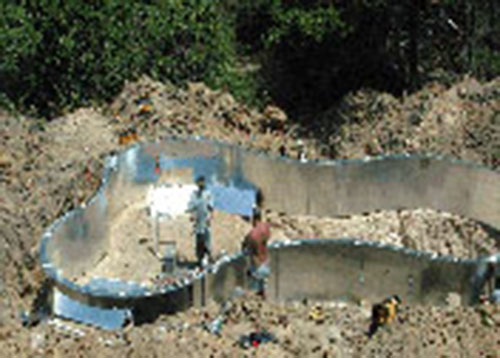
Here is a polymer wall pool kit after all the walls have been set - and options such as skimmers, steps and jets have already been installed. It is ready for the pool floor to be floated.
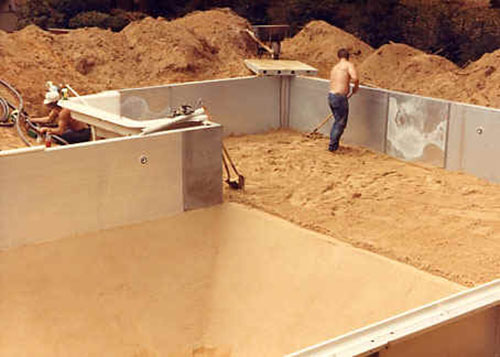
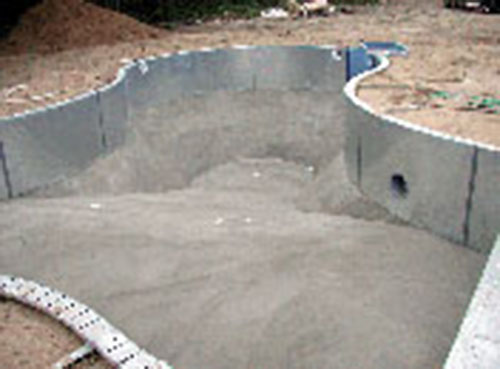
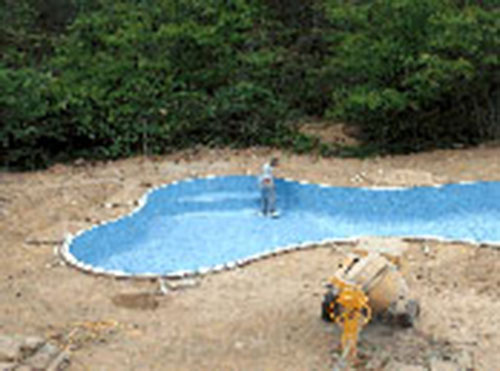
The pool floor must have sand added to it to make a nice smooth, comfortable pool bottom. In this photo, you can see that the deep end of the pool (the hopper) has already been floated. This means that the sand is smoothed out with trowels. This is actually the step where your pool shape comes to life and you can finally get an idea what your pool may look like when it is done! Notice the difference in the pool floor in the photo between where the Pool Guy is standing and in the hopper.
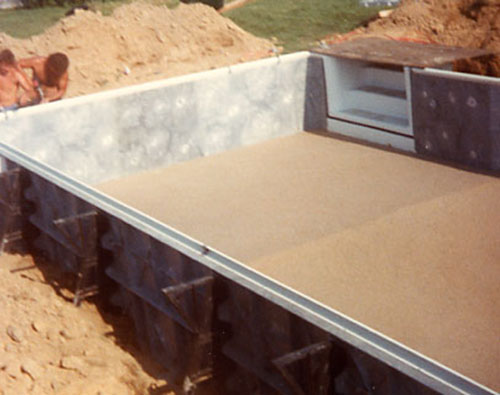
In this photo, you can see how nice and smooth the whole pool floor looks after it is troweled and floated.
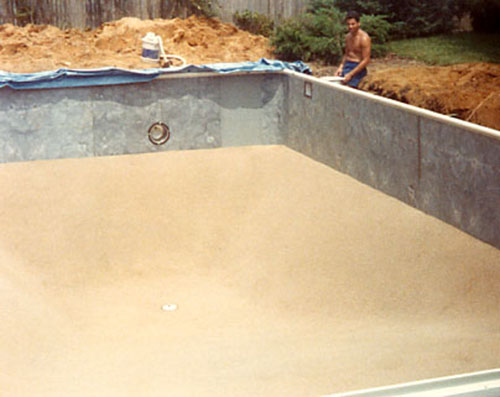
Some customers prefer to have the floor of the pool made of cement rather than sand. This photo shows a cement bottom that has been installed in this pool.
Some customers prefer to have a foam padding installed on their pool walls prior to the liner being installed. This photo shows the guys installing that wall foam.
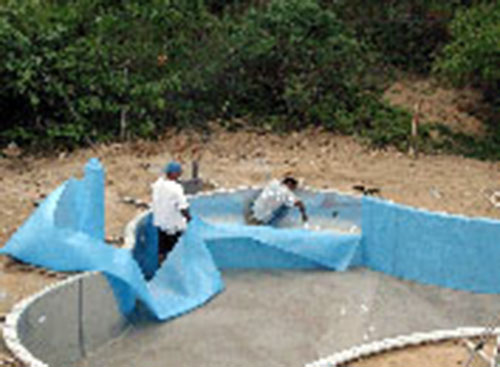
Once the pool floor is ready, it is time to get ready to put the pool liner in. In this photo, you can see it rolled up at the end of the pool - ready to be installed. This is usually a nervous time for both the installation crew and the pool owner ! Hope it fits. Hope it is the right color. Hope it doesn't rip !
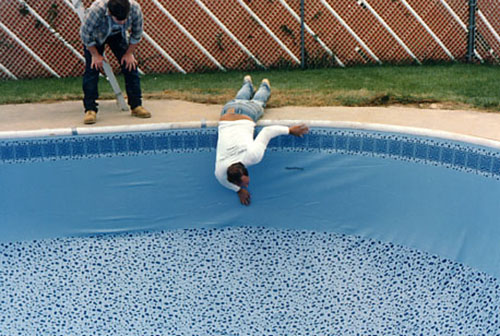
Once the liner is put into the pool (otherwise known as dropping the bag), the installers will hang into the pool to make the fine adjustments necessary to guard off wrinkles in the liner. In a new pool, there should not be that many wrinkles (although sometimes a few cannot be helped).
Now it is time to fill the pool up with water. If you are friendly with your neighbors, it doesn't hurt to ask them if you could borrow a little water :o). The more neighbors and hoses - the faster the pool will fill !
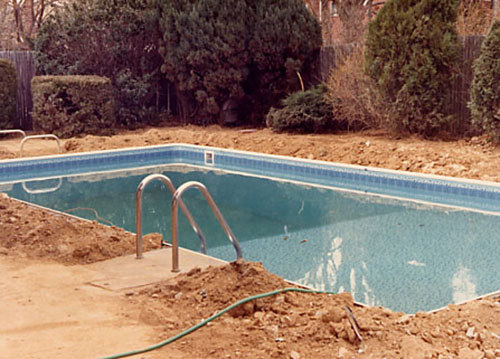
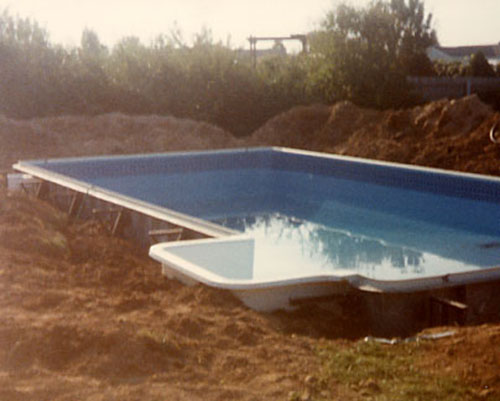
After the pool is filled with water and backfilled with dirt (the dirt to fill in the area around the pool walls), the dive board stands and ladder and rail cups can be cemented in.
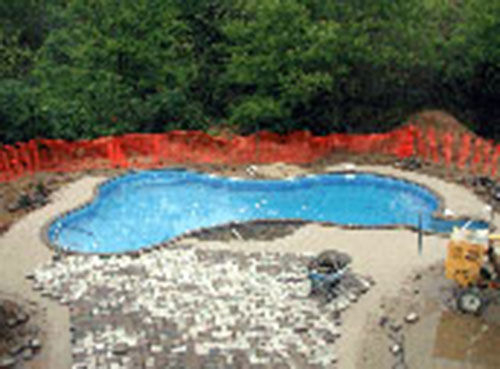

After the dirt around the pool has settled for a few weeks, the cement, bricks or other deck-work can be added to the pool area.
After that, the ladder, rails, diving board, landscaping and other finishing touches can be installed.
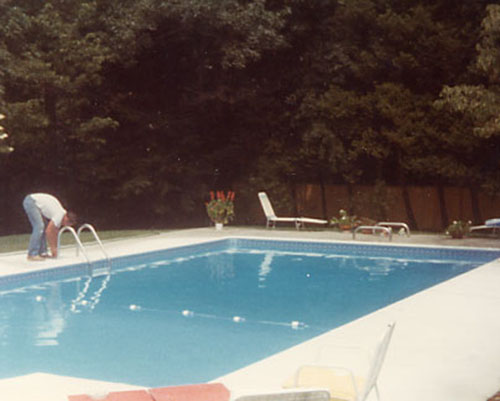
Then it's time to jump in and enjoy your brand new pool !
Inground Swimming Pool Construction Photos
For Gunite (Cement / Plaster) Swimming Pools
Photos Provided By South Shore Gunite Pool & Spa
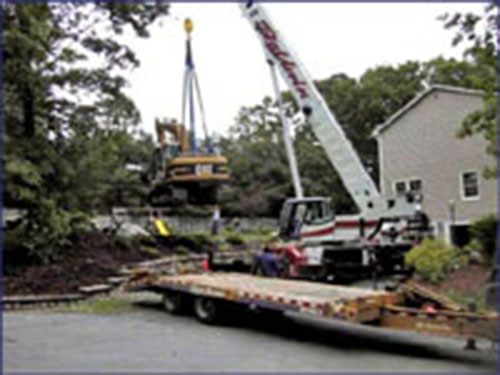
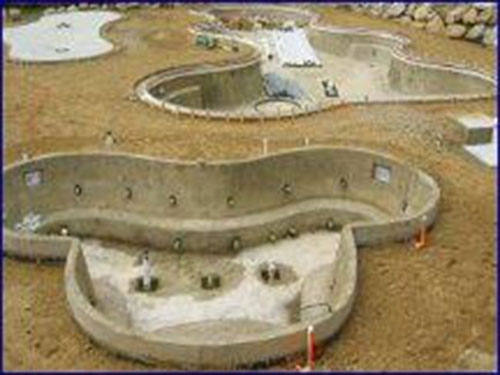
The excavator comes in and digs the hole for your pool.
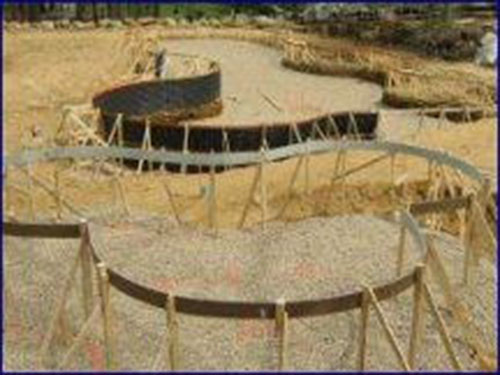
Next, the actual form, or shape, of your pool is outlined using wood framing.
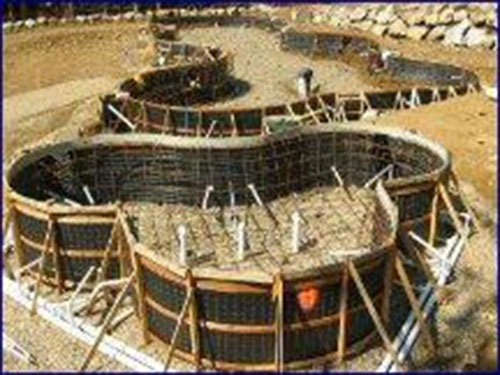
Then the wood frame is actually shaped into the swimming pool with steel rebar.
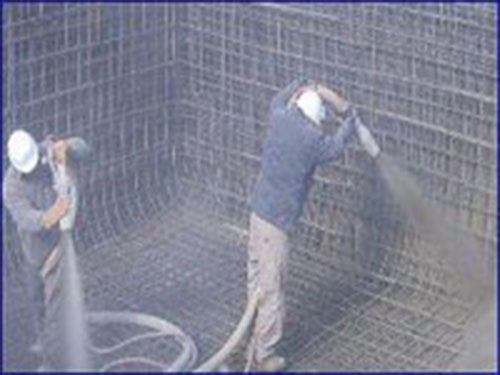
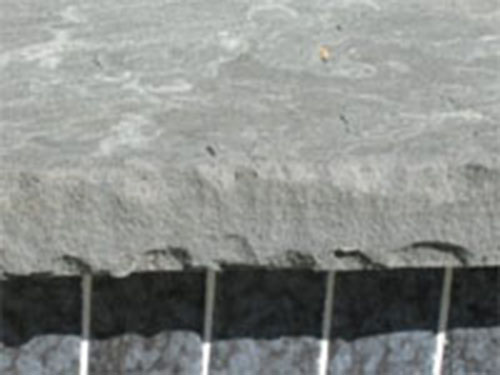
After the shape is perfect, then gunite, or shotcrete, is power sprayed into the form, actually 'making' the pool.
Here you see what it looks like when dry.
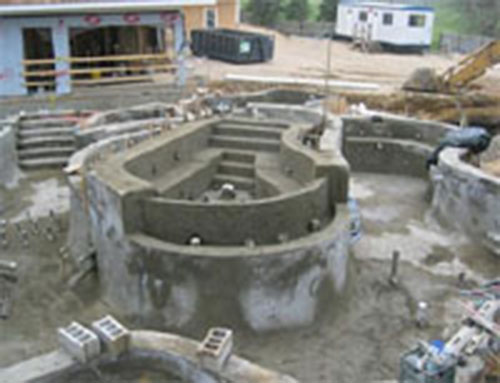
In these photos, you get a good 'before' and 'after' view.
Next, the plumbing fittings are installed.
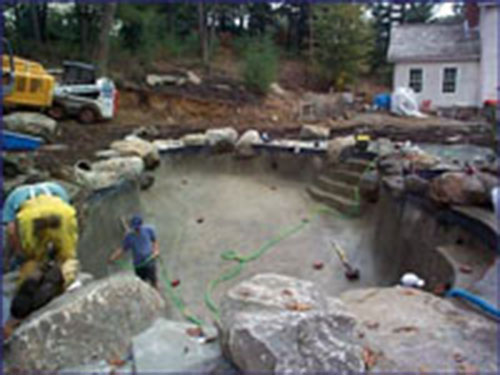
Then, other elements such as rocks or boulders can be set in. You can be quite creative with the design of these type of pools.
This is a nice close up of the rock coping, or decking, that is going on this pool. Also note the inset tile at the top of the pool wall.
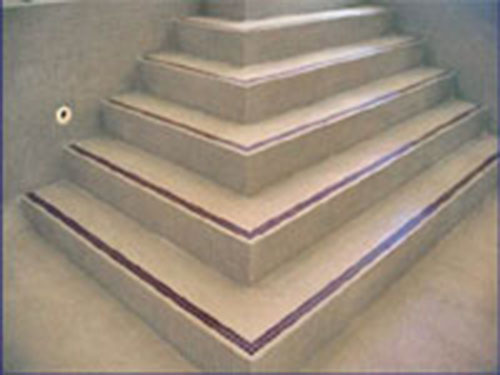
The actual surface of the pool walls and floor then get installed. You can chose tile, Diamond Bright, gunite, marble dust, plaster or paint for your surface. The cost of the surface can vary greatly.
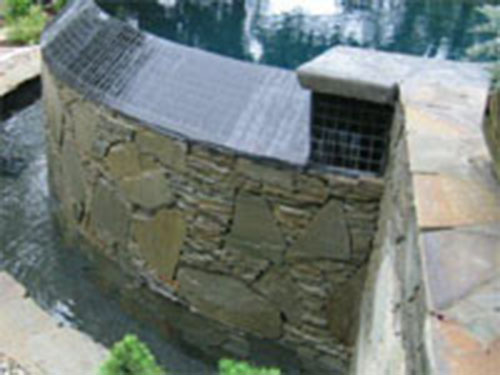
Here you can see details of some high end elements added to this pool which include an overflow to give it that 'negative edge' type look from inside the pool.
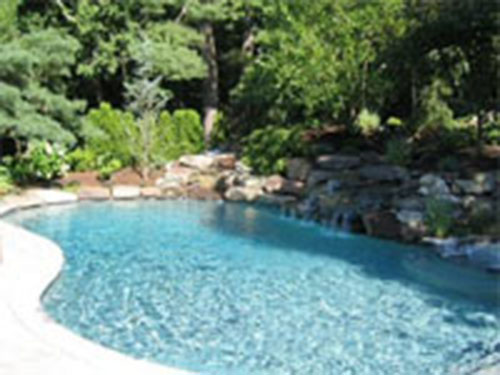
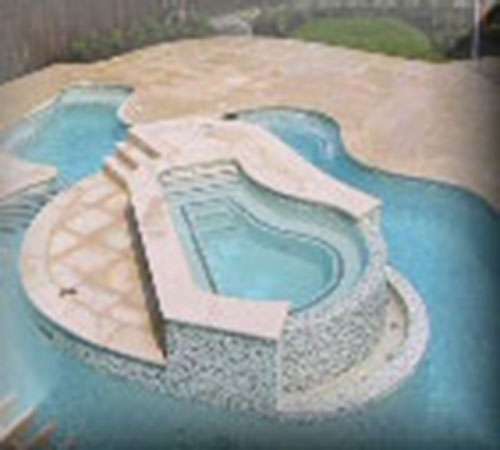
Here is a finished pool which is sort of a 'natural' or 'lake effect' swimming pool. Time to jump in and go for a swim !
Inground Pool Installation
-
Chia sẻ với Facebook
-
Chia sẻ với Twitter
-
Gửi qua Gmail
-
Chia sẻ với Pinterest
-
Copy link


.jpg)
.jpg)


.png)
- Sáng tạo trẻ: Nhà nổi lưỡng cư 273
- Biện pháp thi công (Download file CAD) - GS. Lê Kiều 34
- TCVN (Full List) 31
- Viện hàn lâm Khoa học California mới với mái nhà xanh trên 1 hecta 29
- Nhà ở Châu Đốc / NISHIZAWAARCHITECTS 20
- Cách chèn ảnh vào bài viết 20
- Về cái tên "sông Cửu Long" của người Việt 19
- Những lượt like "khủng" trên group Tre Làng Club 19
- Đặt bếp thế nào cho hợp Phong Thủy và khoa học? 19
- 6 vùng văn hóa ở Việt Nam 18


Bình luận từ người dùng